Installation

Windows
Download
Use the links below to download the latest version of Burp Suite Professional or Community Edition.
Paid version
Free version
Installation
Run the installer and launch Burp Suite.
When asked to select a project file and configuration, simply click Next and then Start Burp so you don't have to do that yet.
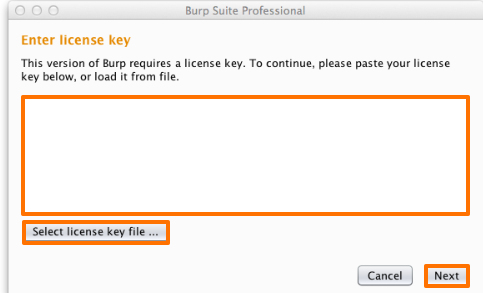
If you are using Burp Suite Professional, enter your license key when prompted. If you don't have one yet, you can subscribe or request a free trial.

Run
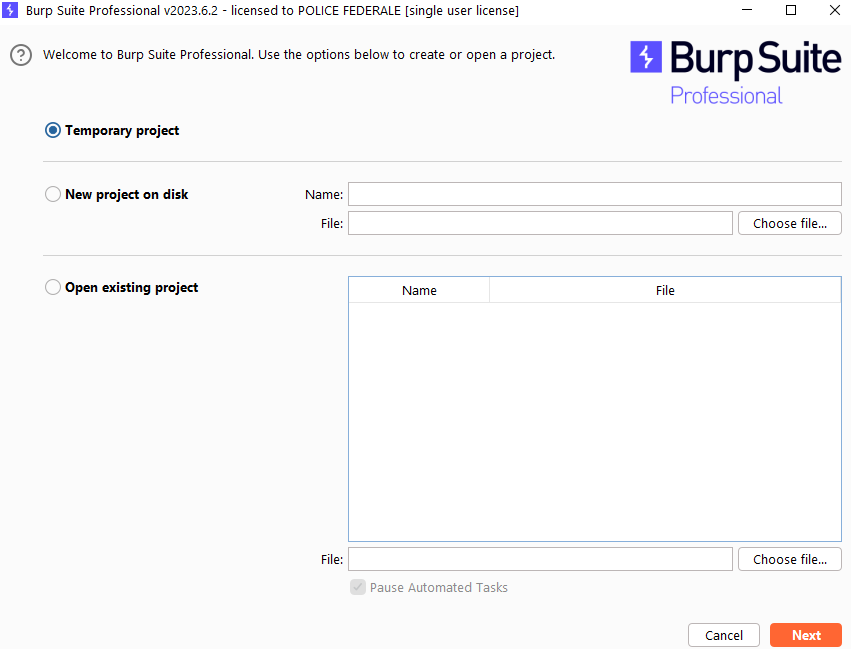
When Burp is launched you get the following screen:

You can keep all data and configuration settings for a particular job in a Burp project file. The file saves data incrementally as you work. There is no need to manually save your work.
When testing certain applications, this can generate several gigabytes of data. Make sure you have enough free disk space when using Burp project files.
You can select or create a project file from the Getting Started Wizard. The available options depend on which edition of Burp Suite you are using:
Temporary
Communauty et Professional
Select this option for quick tasks where you don't need to save your work. All data is retained in memory and is lost when you close Burp.
New project on disk
Professional
Create a new project file. This file contains all the project data and configuration.
Open existing project
Professional
To reopen a project file. You can choose from a list of recently opened projects.
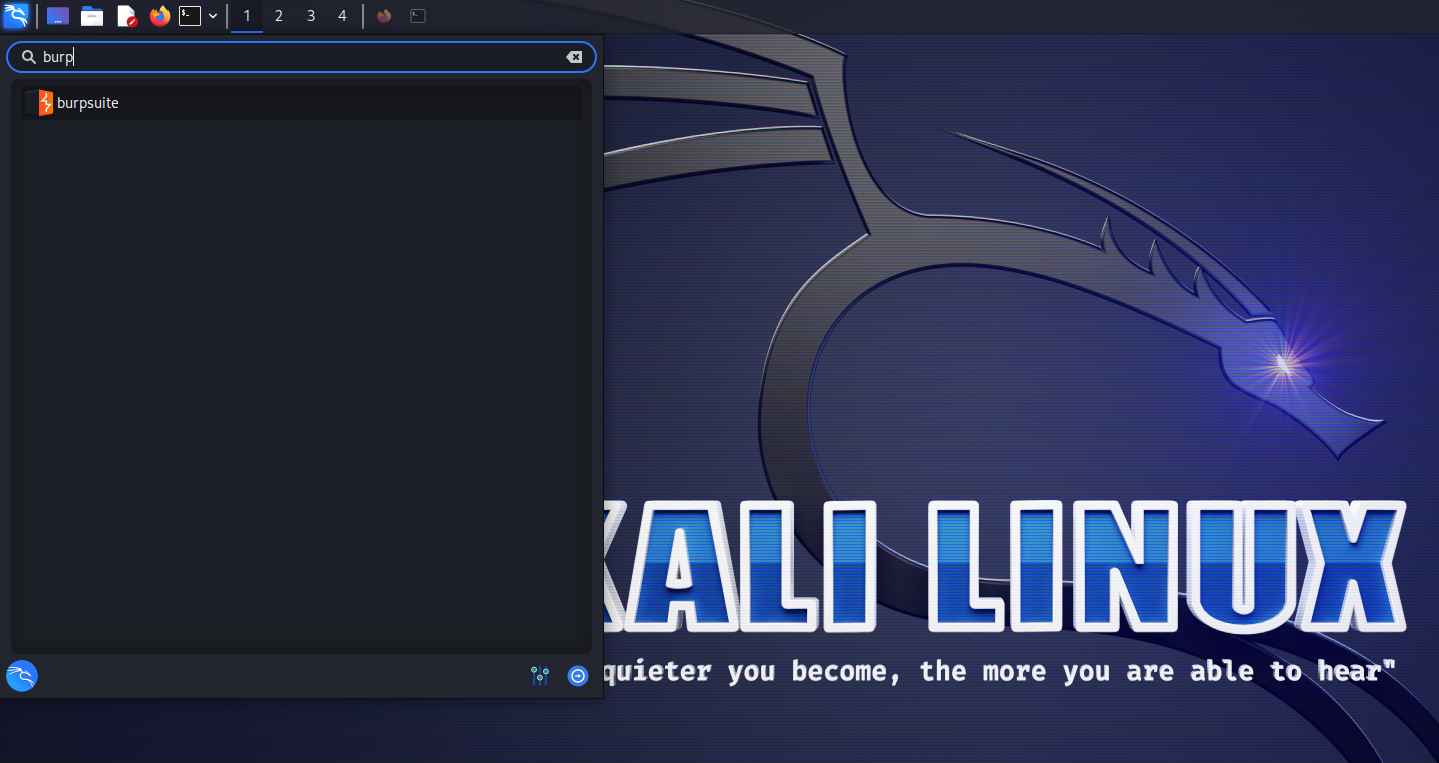
Kali linux
Burp community is installed by default on Kali Linux versions:

Last updated